Picture your garden anchored by a mirror-smooth pond, waterfalls murmuring in the background, koi sliding through shimmering light. You could line that pond with rubber EPDM or poured concrete—but if you want a surface that feels like one seamless “second skin,” shrugs off UV, and will never balloon with tree-root punctures, polyurea is the modern answer. In this walkthrough we’ll cover everything from design sketches to safe fish introduction, showing exactly where Poposoap’s plug-and-play pumps, filters, lights, and solar fountains slot in to turn raw excavation into a living, low-maintenance ecosystem. Along the way you’ll see why more professionals and DIY builders alike are building a polyurea koi pond instead of wrestling with seamed liners.
Why Choose Polyurea for Your Koi Pond?
Polyurea is a two-part elastomer sprayed at high pressure. When the streams hit the pond wall they fuse in seconds, forming a continuous, rubber-like membrane:
- Zero seams: No taped joints fail over time.
- Extreme elongation: Expands and contracts with temperature swings—perfect for regions that freeze and thaw.
- Chemical inertness: Totally fish-safe once cured; it doesn’t chalk or leach.
- Bond-to-anything: Adheres to concrete, steel, even wood, so you design creative edges without liner folds.
Step 1: Plan Your Pond Layout

Begin with function: koi need depth (90 cm/36 in or more) and gentle circulation. Sketch the footprint and mark where you’ll seat a Poposoap Waterfall Kit—a pre-formed spillway box, pump, and plumbing bundle that delivers 660 GPH of lift in an 8- or 12-inch weir size. Position the waterfall opposite your skimmer intake; this creates a slow, racetrack current that sweeps debris to the filter.
Tip: Work out plumbing penetrations now; polyurea loves to encapsulate bulkhead flanges, making them lifelong leak-proof.
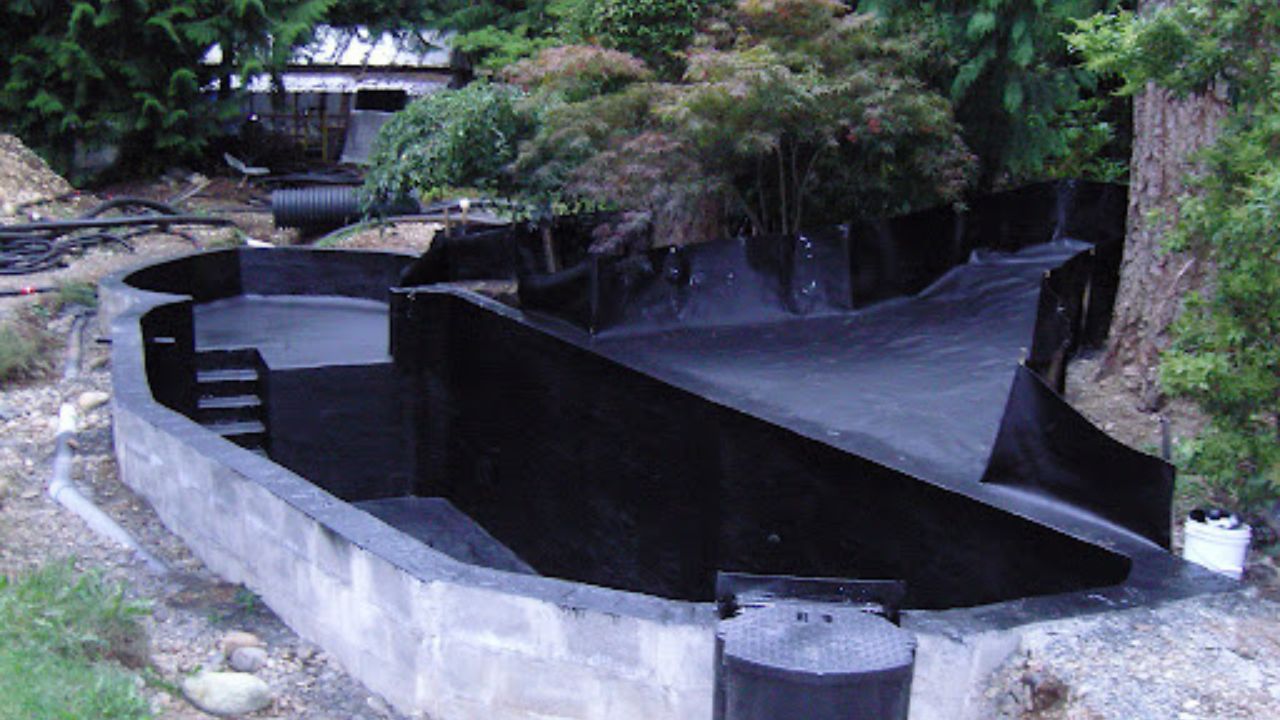
Step 2: Excavate & Build the Structure

- Dig to final grade, carving two shelves: one at 40 cm for marginal plants, a second at 60 cm as a koi “rest stop,” and the deepest bowl in the middle.
- Compact the soil and install rebar or fiber-reinforced shotcrete if you’re in clay; polyurea needs stable backing.
- Finish with a smooth parge coat—no sharp lips. Think of it as the canvas for your spray coating.
A bottom drain stubbed to a gravity-fed Poposoap Pond Filter will make sludge removal nearly automatic once fish move in.
Step 3: Surface Prep & Spray Polyurea

- Prime the cured concrete with manufacturer-approved epoxy primer.
- Mask plumbing threads and edges.
- Heat and spray: Polyurea guns run 60 °C material at 150 bar. Build to 2.5 – 3 mm for koi duty.
- Visual pass: A glossy sheen with no pinholes means you’re done; the membrane gels in 10 seconds and reaches walkable cure in under an hour.
Because polyurea bonds chemically, any future repairs involve spraying a fresh pass; the layers cross-link into one monolithic skin.
Step 4: Plumbing & Filtration Integration
Closed-loop filtration
Drop a Poposoap Pond Filter outside the pond wall; its stainless pre-screen and layered foams intercept leaves, while ceramic rings host the nitrifiers that turn ammonia into safe nitrate.
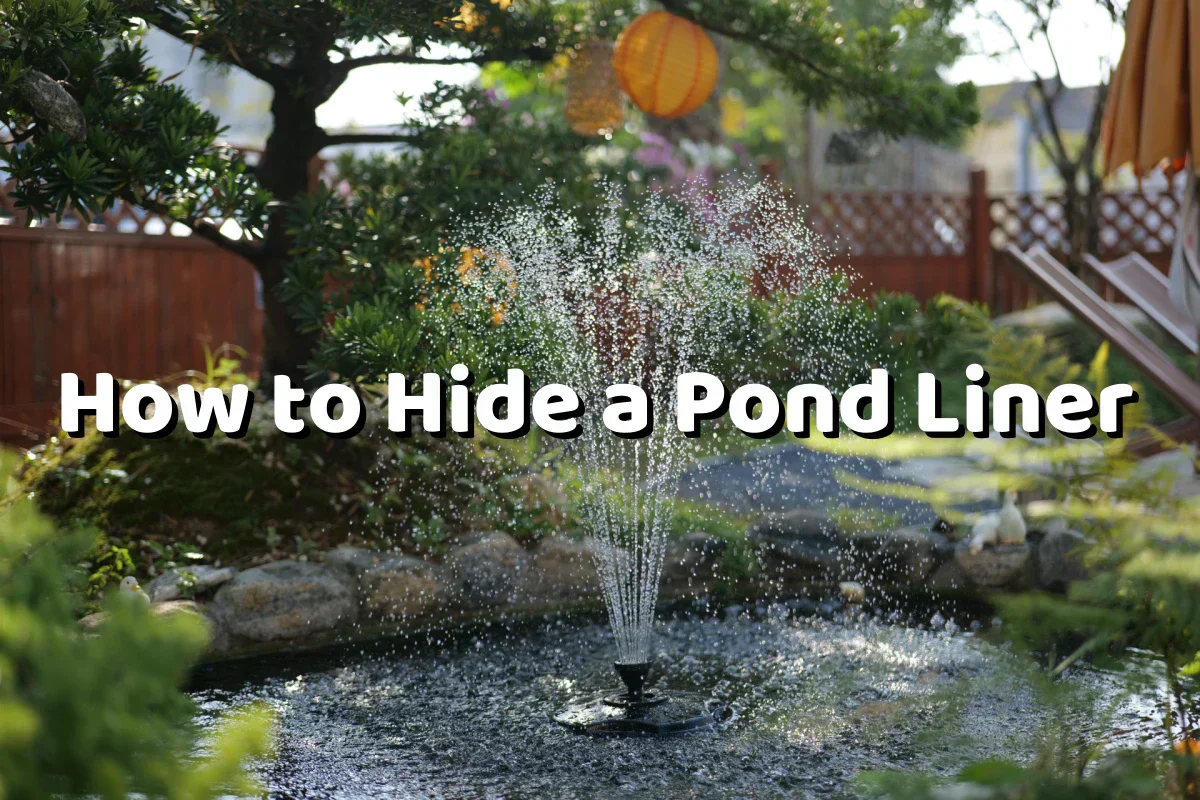
Water movement
A Poposoap Waterfall Pump (40 W) feeds the spillway, returning polished water in a shimmering sheet—an ecological loop that also oxygenates. If you want whisper-quiet recirculation at night, a secondary low-watt pump can bypass the fall and send water straight back through a submerged jet.
Oxygen boost
Tie in the Poposoap Pond Aerator. Solar panel by day, battery option by night, it blankets the bottom with micro-bubbles that prevent stagnation. In sunny climates, float a Poposoap Solar Floating Fountain dead-center; its 45 W motor throws decorative arcs by day and tucks itself into sleep when dusk lowers pH and fish activity.
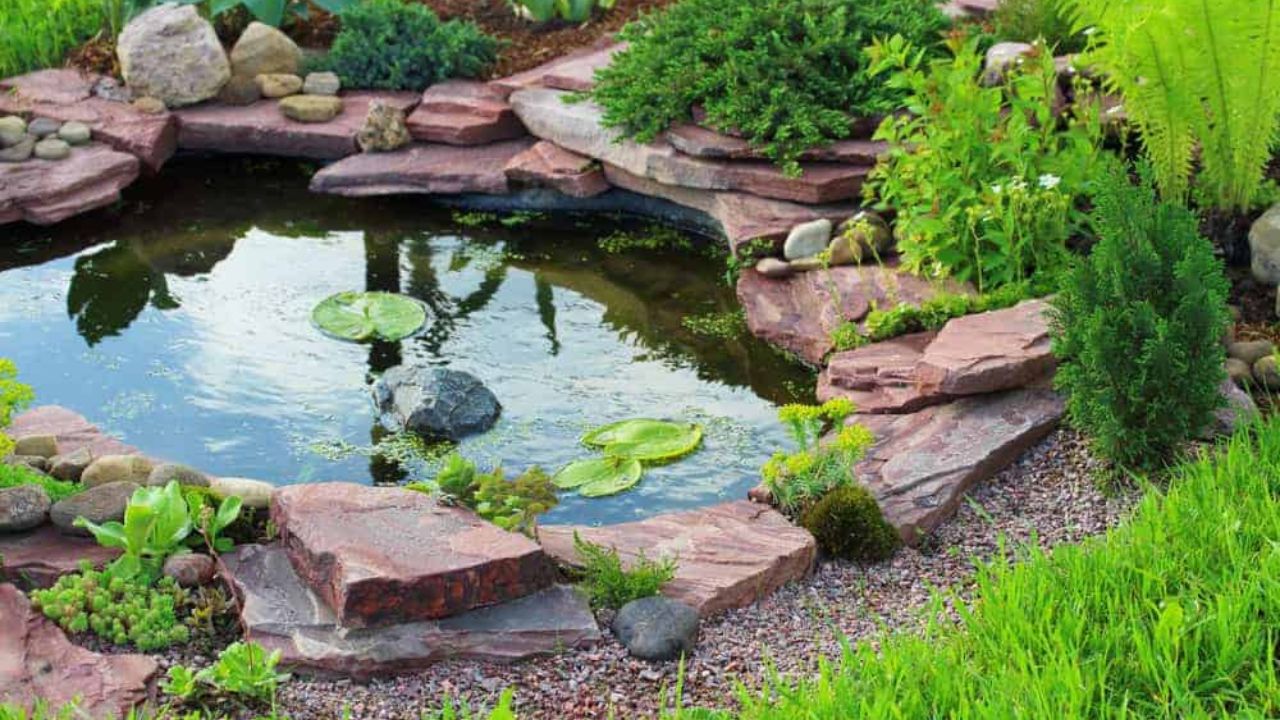
Step 5: Add Finishing Touches
- Hide plumbing trenches with weathered granite or driftwood.
- Nestle aquatic baskets into the marginal shelf and anchor in rounded river rock.
- Clip in Poposoap RGB or warm-white LED Pond Lights under coping stones. Three-head solar sets give you 12 fixed colors or three brightness levels without running conduit—flip to tranquil blue for evening tea or cycle rainbow mode for weekend parties.
Step 6: Introduce Koi Safely

Fill the pond, dechlorinate, and run pumps for a week while dosing bottled nitrifying bacteria. Test ammonia and nitrite daily. When both read zero, float fish bags 30 minutes for temperature match, release, and skip feeding 24 hours. Remember: the first months of building a polyurea koi pond aren’t about fish food, they’re about bacterial food.
Step 7: Maintenance Tips for Polyurea Ponds
- Inspect once a year: Polyurea rarely blisters, but a quick walk-through lets you spot lifted edges around bulkheads.
- Rinse filter pads weekly in pond water. Coarse→fine sequence means each pad lasts seasons, not weeks.
- Trim lilies aggressively. Dead plant matter is ammonia waiting to happen.
- Check aerator membrane discs every six months; swap when bubble pattern weakens.
- Winter mode: In frost zones, throttle the waterfall and rely on the Poposoap Solar Fountain or aerator to keep a breathing hole—polyurea handles freeze–thaw, but fish still need oxygen.
Step 8: Cost Overview & Considerations
| Component | Typical cost (USD) | Notes |
|---|---|---|
| Excavation & shell (DIY) | $600–$1 000 | Varied by size/soil |
| Polyurea spraying | $10–$15 / sq ft | Includes primer |
| Poposoap Waterfall Kit | $180–$250 | Pump + spillway |
| Poposoap Pond Filter | $220–$350 | Size to 660 gal or more |
| Poposoap Aerator | $120–$160 | Solar panel included |
| LED Pond Lights | $90–$140 | Solar or AC sets |
| Koi & plants | $200+ | Scales endlessly |
Polyurea isn’t the cheapest liner, but lifespan (20-plus years) means cost per season undercuts repeated EPDM replacements. Add Poposoap’s energy-saving pumps and solar accessories and your long-term electric bill stays modest.
Step 9: Conclusion + Recommended Poposoap Products

Whether you’re a weekend digger or a pro contractor, building a polyurea koi pond gives you a sculpted, seamless basin that stands up to roots, claws, and ultraviolet light. Pair that shell with:
- Poposoap Waterfall Kit for dynamic flow and relaxing sound.
- Poposoap Pond Filter for crystal water and ammonia control.
- Poposoap Solar Floating Fountain to add daytime sparkle without grid power.
- Poposoap Pond Aerator for round-the-clock oxygen insurance.
- Poposoap LED Pond Lights to shift the mood from daylight brilliance to twilight theatre.
Each module follows the company’s “tool-free, hassle-free” creed—snap latches, ABS housings, rugged seals—so you spend weekends enjoying koi rather than wrestling plumbing. From excavation to finishing touches, these few smart choices turn raw concrete into a living canvas of color and motion. Start spraying, start circulating, and let the koi do the final decorating lap in their new polyurea palace.