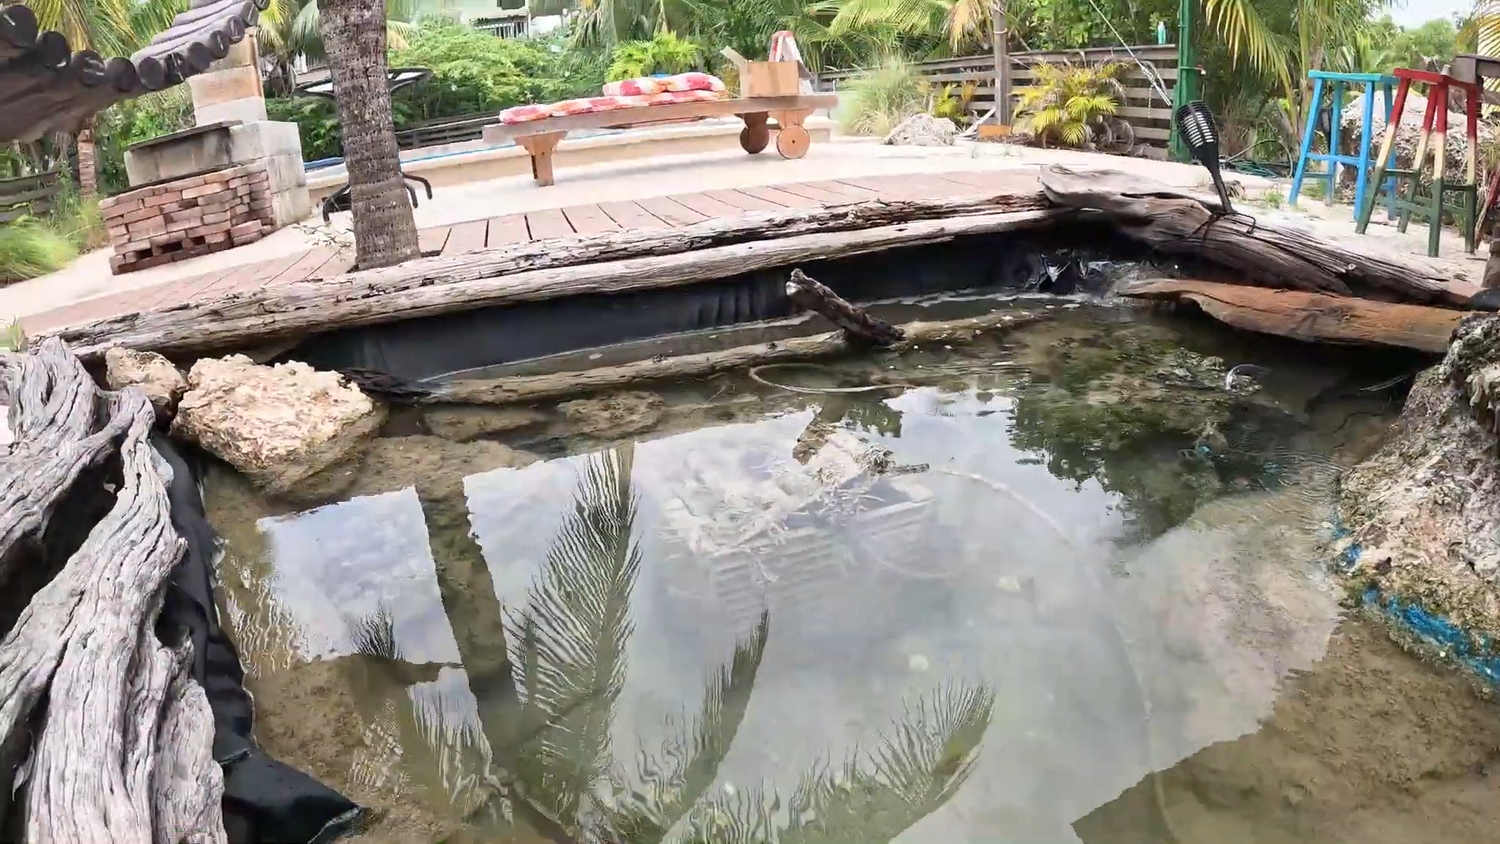
Next to the cozy tiki hut, there is a charming saltwater lagoon. Recently, a new "member" has arrived here - the Poposoap solar pond pump and filter, which will bring new vitality and changes to the lagoon. Let's witness this interesting installation process together.
1. Unboxing: Rich Components and Full Functions

This Poposoap solar pond pump filtration kit can be said to be "well-equipped." Among them, the foldable solar panel is cleverly designed, which is convenient for storage and can be flexibly adjusted to fully capture sunlight. It is paired with a sophisticated water pump that is directly powered by the solar panel, which is environmentally friendly and energy-saving. There is also a hose for water delivery, a key filter box and filter media, and a variety of fountain options to create personalized water features. In addition, a full set of instructions also provide strong guidance for the installation process, but its installation design is very intuitive and can be easily used without reading the instructions.
2. Working Principle: Biological Purification, Protecting Water Quality

Next, let's take a deeper look at the magic of the filter box. Open the filter box, and it is filled with densely packed media balls. These seemingly ordinary balls actually provide an ideal habitat for bacteria and microorganisms. In the saltwater lagoon, the excrement produced by organisms such as fish and crabs, as well as impurities such as residual food, will be sucked into the filter box. The organisms in the box will start to work hard to decompose and purify these pollutants, thereby keeping the lagoon water clean and healthy.
3. Installation in Progress: Simple Steps, Easy to Get It Done
(I) Fix the Water Pump

At the beginning of the installation, first fix the water pump in the filter box. The suction cup is thoughtfully designed at the bottom of the water pump, which can be firmly attached to the bottom of the filter box to prevent it from shaking. At the same time, there is a small Velcro strap to further reinforce it to ensure the stability of the water pump. On the filter box, a small channel is specially reserved for leading out the wires of the solar panel, which is convenient and safe.
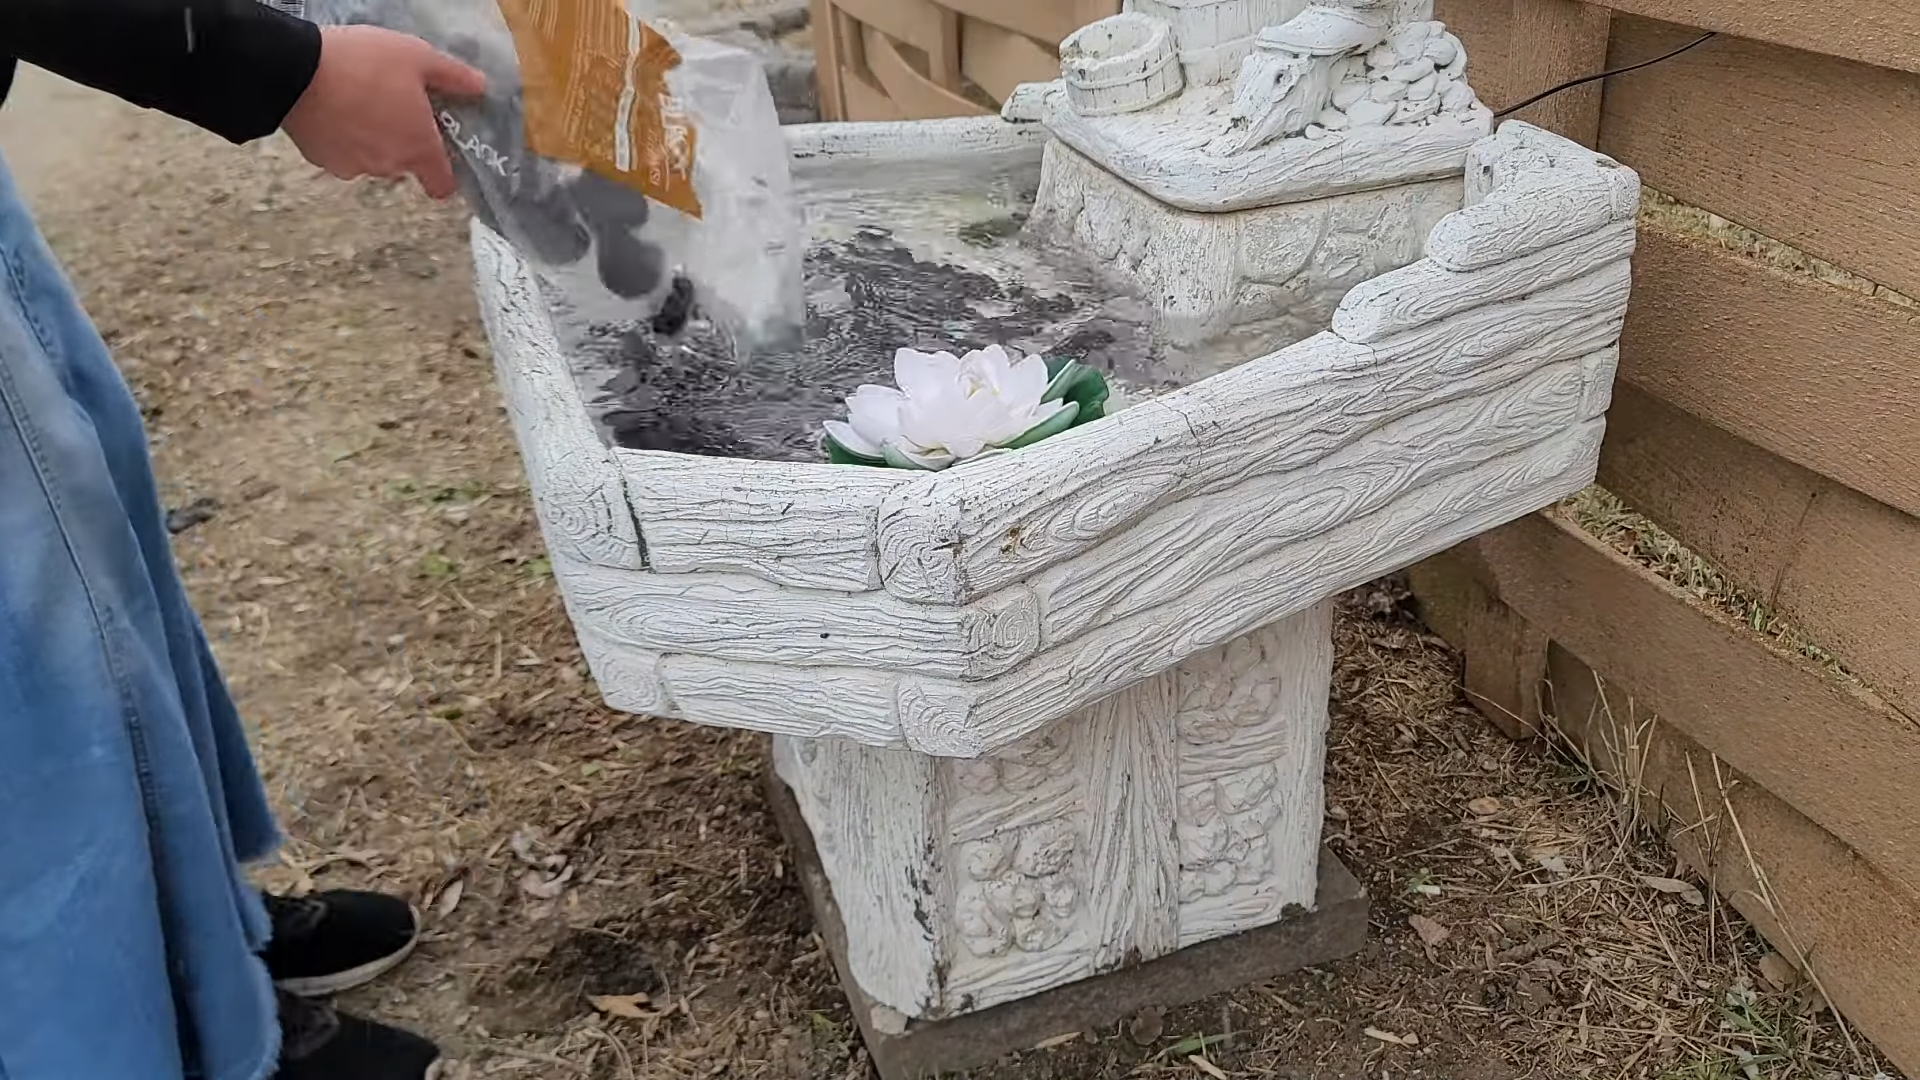
(II) Loading the Filter Media
Then pour the filter media - those magical little balls - into the filter box. Next, connect the water hose to the water pump and carefully pass the hose through the filter media layer. It is worth mentioning that there are two layers of filters at the inlet and outlet of the filter box, the lower layer is a fine filter and the upper layer is a coarse filter. When installing, just gently slide the filter into the corresponding position, and they can do their job and effectively intercept impurities of different sizes. It is important to note that in order to maintain good filtration, the filter assembly needs to be disassembled and the filter and media balls need to be rinsed about once a week.
(III) Final Installation Steps

The last step of the installation is to pass the hose through the grille on the top of the filter box. This grille is cleverly designed to not only prevent fish from entering, but also acts as the ultimate leaf collector to prevent debris from clogging the pipe. Once all the parts are in place, just gently snap on the small clip and the entire filter box is assembled. The operation is simple and easy to understand.
4. Test Time: Cloudy Operation, Amazing Results

After completing most of the installation work, don't rush to fully install the equipment, but do a preliminary test. Install the solar panel on the roof, which happens to have a large solar panel that powers the swimming pool, and the new water pump is equipped with a long enough wire to easily connect to the roof. Simply plug in the plug and tighten the screws to complete the connection. Surprisingly, although it was cloudy and the sun was weak, the small water pump still showed strong performance, and the water flow continued to flow, which was enough to prove its excellent stability and adaptability.
Today, the saltwater lagoon with the Poposoap solar pond pump and filter installed not only has clearer water quality, but also adds a smart waterfall landscape. The whole backyard has also been rejuvenated and become a leisure resort full of natural charm. If you are also eager to bring changes to your own pond or waterscape, you might as well consider this magical solar pond pump. I believe it will bring you unexpected surprises.