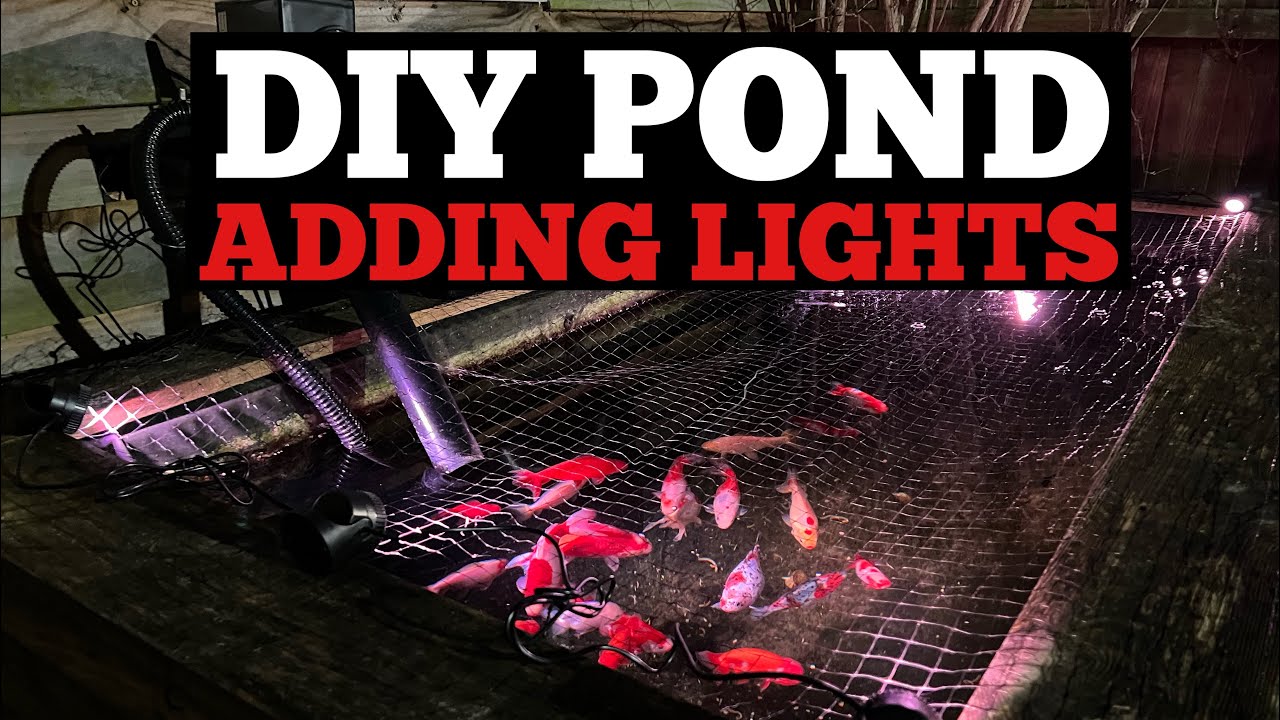
While building my own DIY pond, I kept thinking about how to make it look unique at night. So, I decided to try to install some underwater pond lights to upgrade my pond to a new level. In the process, I gained a lot of valuable experience, and now I want to share it with you.
Choosing the Right Pond Light
At the beginning, I was dazzled by the many pond light products. After some research and comparison, I finally chose a pond light from Poposoap. There are several reasons for choosing it: first, its appearance design is relatively simple and generous, which can be well integrated into the natural environment of the pond; second, its waterproof performance is claimed to be excellent. After all, it is placed underwater for a long time, and waterproof is definitely a key factor; third, after reading some user reviews, the feedback is not bad, which gave me great confidence.
Unboxing and Inspection

After receiving the light, I couldn't wait to start the installation test. Opening the package, the light accessories were complete, and it also came with a detailed instruction manual. However, for someone like me who likes to explore and do it myself, I just glanced at the instruction manual and put it aside. I first carefully observed the structure of the lamp, which mainly consists of the lamp body, waterproof power cord and fixing accessories. The material of the lamp body feels very textured, and the seal is tight, which makes people feel more assured of its waterproof performance.
Installation Process

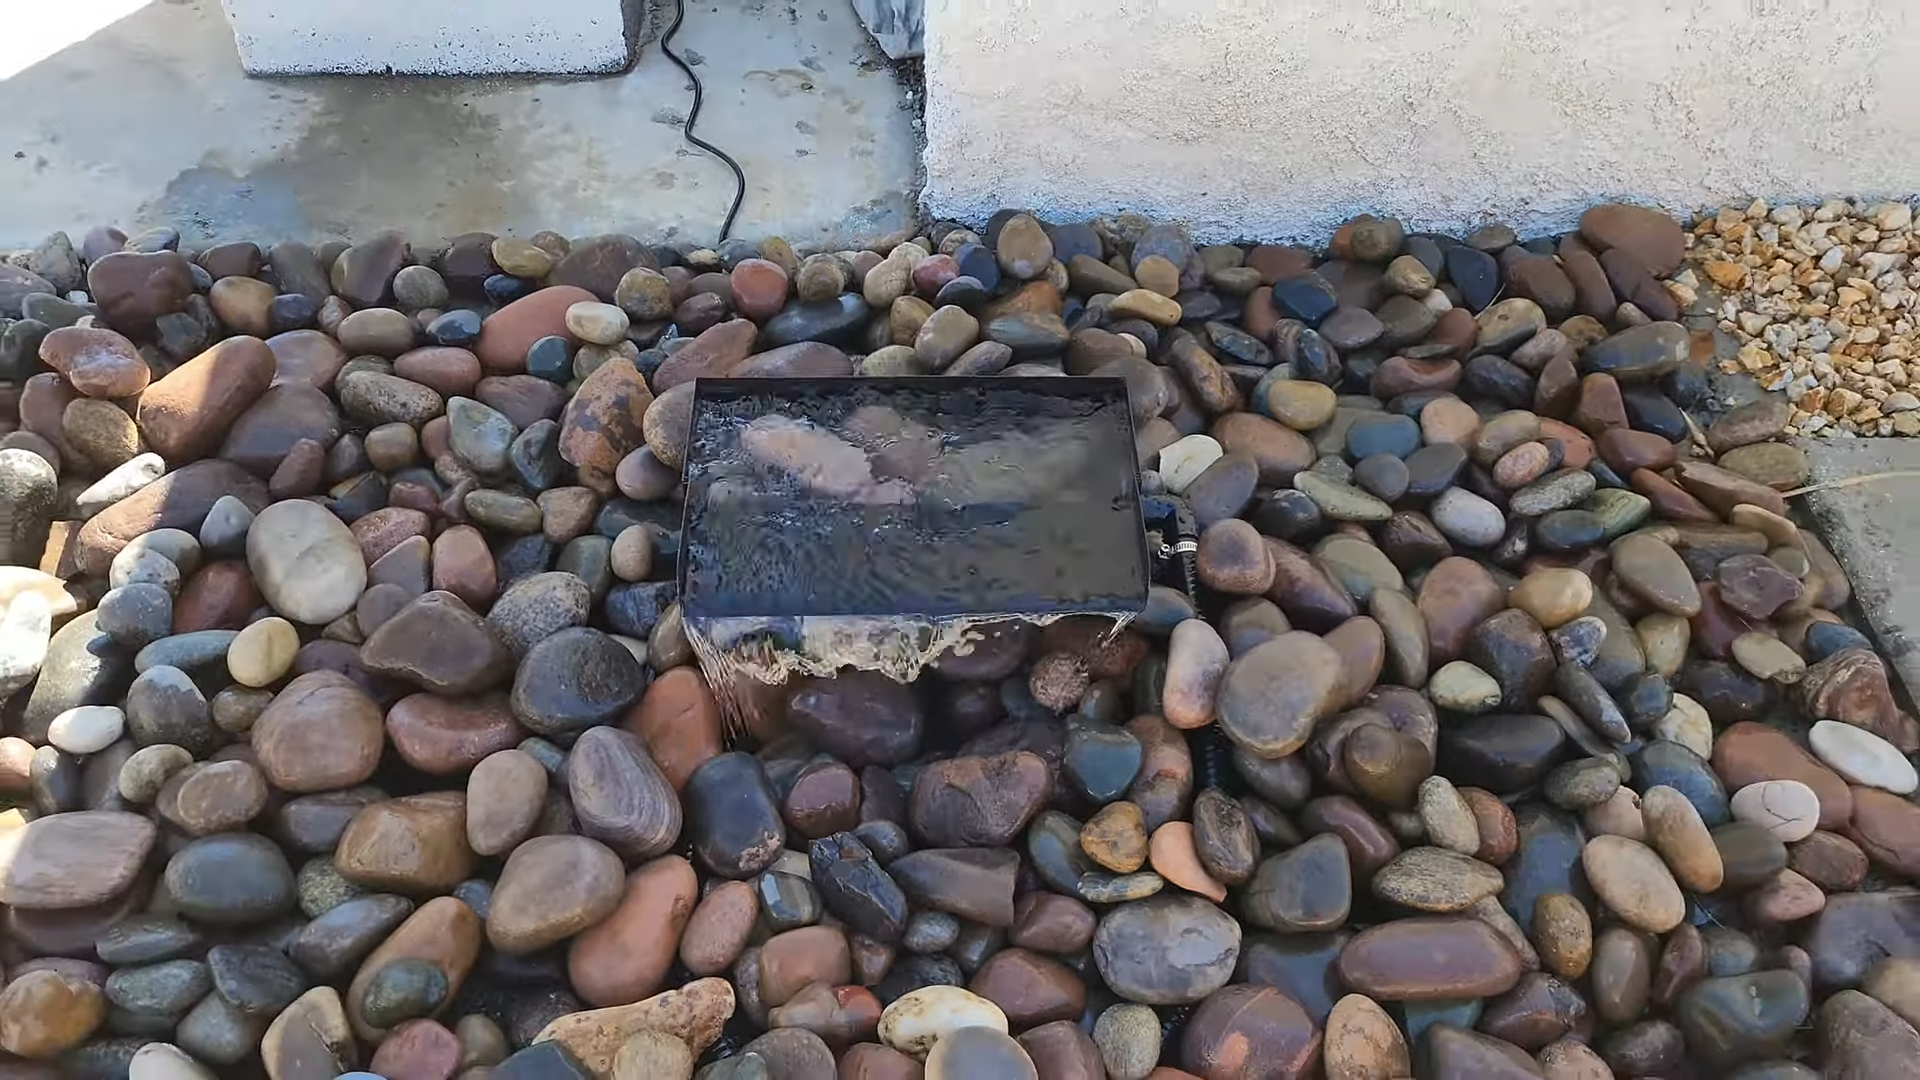
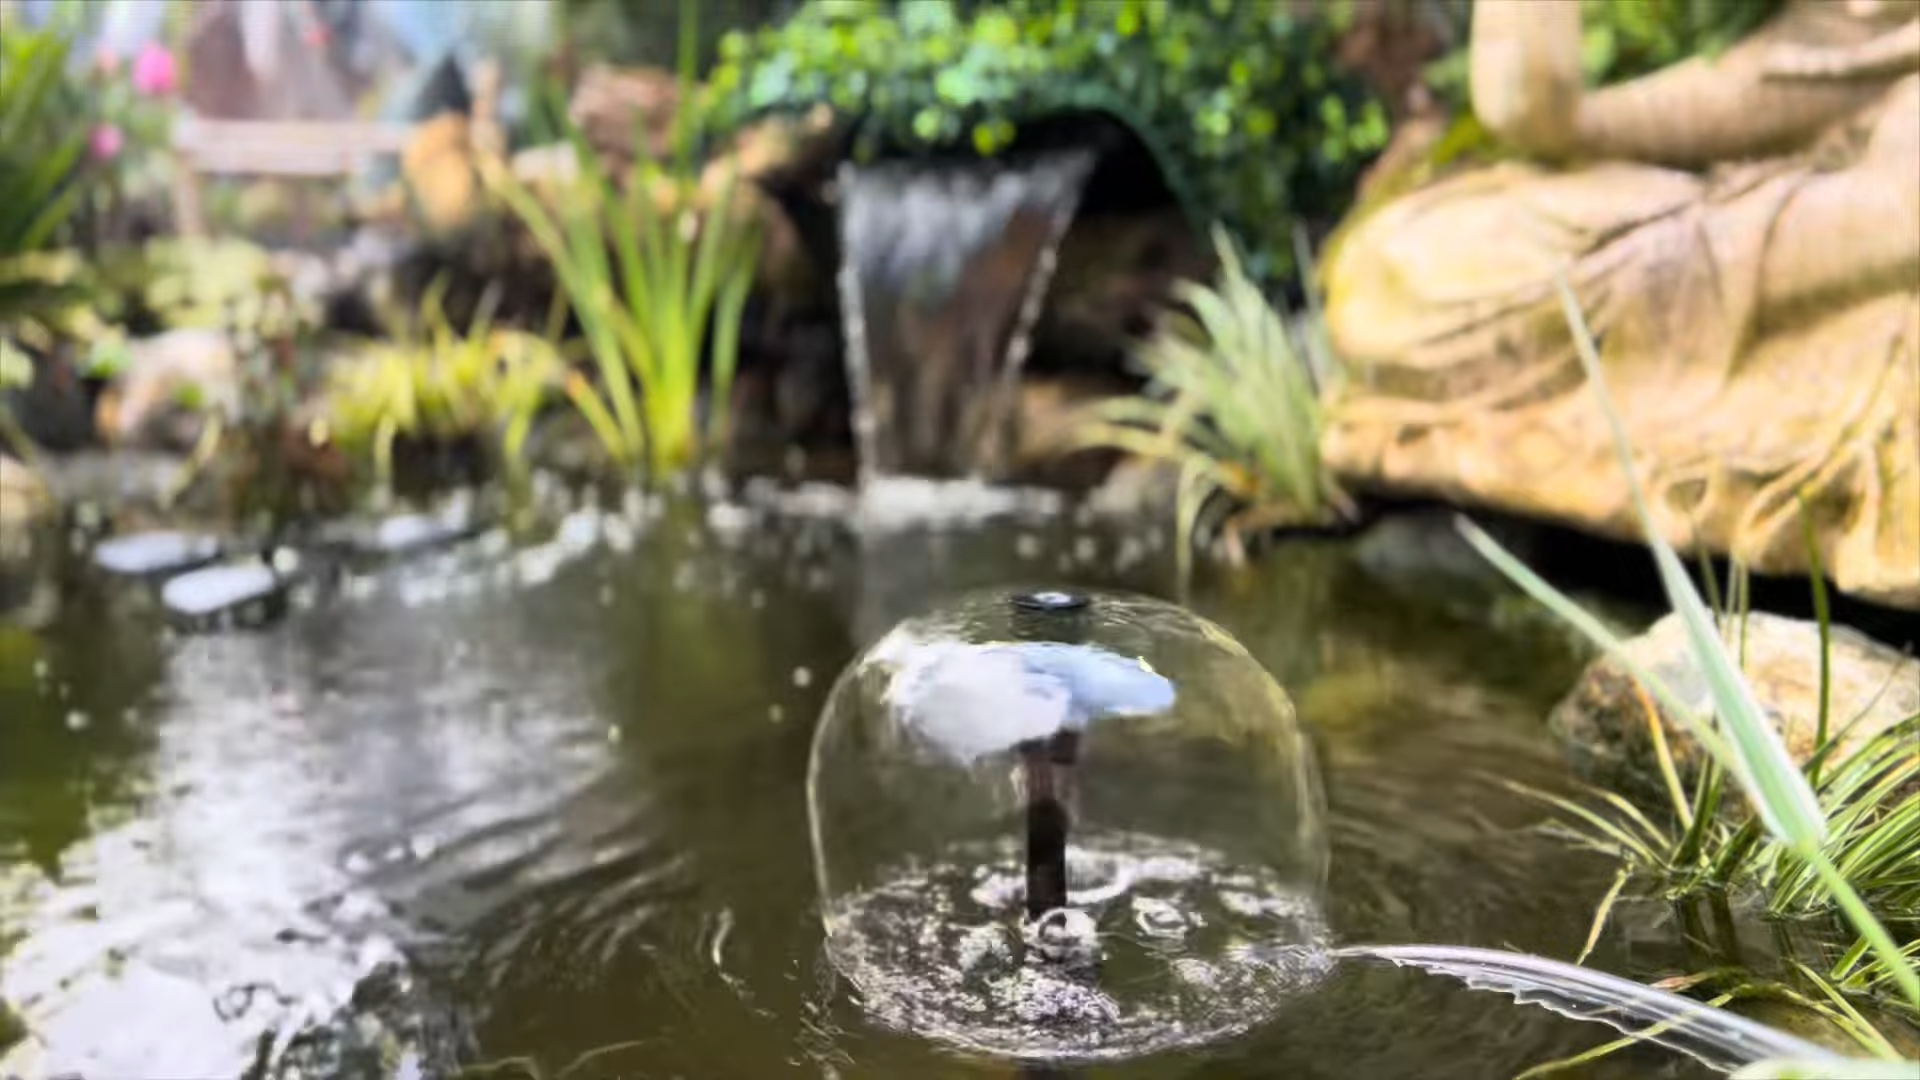
The installation process was not as complicated as I imagined. First, I needed to determine the installation position of the lamp in the pond. I wanted the light to illuminate the pond evenly while highlighting some beautiful landscapes in the pond, such as rockery and aquatic plants. After some gestures, I decided to install a lamp in each of the four corners and the middle of the pond. After determining the position, I started to fix the lamp. The fixing accessories that came with the lamp are very practical. I easily fixed them on the stones at the bottom of the pond. When fixing, I paid special attention to the adjustment of the angle, trying to make the light scatter at the best angle.
Connecting the Power Cord

The next step is to connect the power cord. This step requires extra care because it involves circuit connection, and improper operation may cause problems such as short circuits. I first connected one end of the waterproof power cord to the lamp body, making sure the interface was tight and firm, then laid the power cord along the edge of the pond, and finally gathered all the power cords into a main power interface. In the process of laying the power cord, I used some small stones to hold the power cord down to prevent it from shaking in the water.
The Moment of Truth: Turning on the Lights

After all the lamps were installed and connected, it was time for the most exciting test. I took a deep breath and carefully turned on the power. In an instant, the bottom of the pond was lit up, and the colorful lights emanated through the clear water, and the entire pond instantly became like a dream. The color of the light is very bright, and there is a gradient effect. It is soft blue for a while, like the deep night sky; it turns into warm yellow for a while, as if it is golden sunlight sprinkled on the water. The lights of different colors interweave with each other, reflecting the fish and aquatic plants in the pond particularly beautifully. The fish swim around under the lights, as if they are holding a happy party.
Exploring the Features

I carefully observed the various functions of the lamps. The brightness of the light can be adjusted by the remote control, which is very considerate. I can adjust the light to the most appropriate brightness according to different scenes and moods. For example, when I hold a party at night, I can turn up the brightness to make the pond the focus; and at ordinary times, I can dim some lights to create a quiet and warm atmosphere. In addition, the lamp has several different flashing modes. I tried it and the flashing light effect is like the twinkling stars in the night sky, adding a lively atmosphere to the pond. However, I personally prefer the constant light mode, which I think can better show the tranquil beauty of the pond.
Long-Term Performance and Minor Improvements

After using it for a while, I am very satisfied with the overall performance of this pond light. Its waterproof performance is indeed excellent. After being immersed in water for a long time, there is no water damage. Moreover, the stability of the light is also very good, without flickering or flickering. However, there are some small places that I think can be improved. For example, although the fixing method of the lamp is very firm, it would be better if it could be more flexible when adjusting the angle. Sometimes I want to fine-tune the angle, and it is a little difficult to operate. In addition, the signal of the remote control is sometimes interfered with, especially when I am far away from the pond, the signal will be unstable.
Final Thoughts
Overall, this experience of installing underwater pond lights gave me a great sense of accomplishment. Through my own efforts, I added a unique charm to the DIY pond, making it glow charmingly at night. If you also have a DIY pond, you might as well try installing some underwater lights. I believe you will get unexpected surprises.
Leave a comment
All comments are moderated before being published.
This site is protected by hCaptcha and the hCaptcha Privacy Policy and Terms of Service apply.